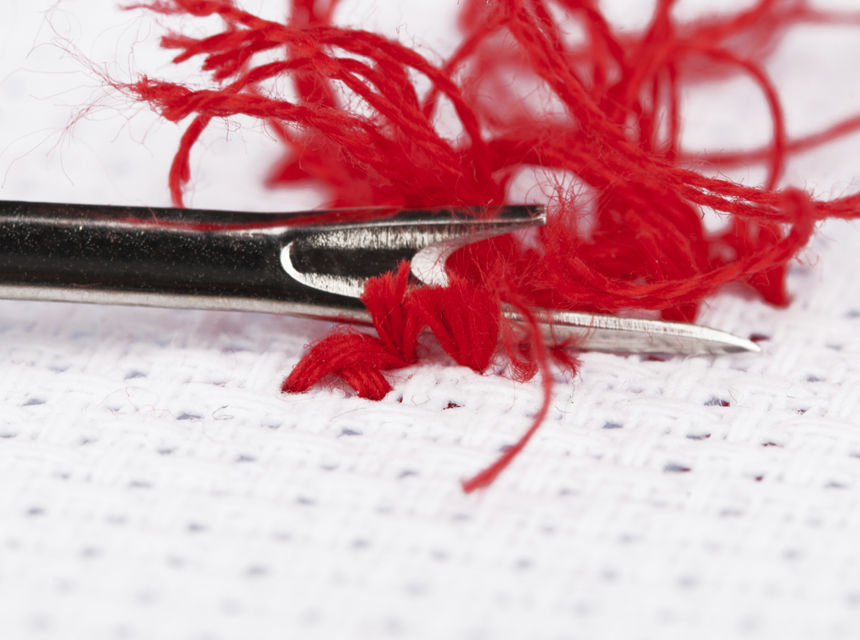
Embroidery is a beautiful hobby that uses stitches sewn directly onto the fabric to create lovely patterns. Still, even the best embroidery machines embroidery and hand embroidery are prone to mistakes, especially when you’re first learning.
A common question is how to remove embroidery. Even the most experienced weavers seem to need an answer to this question to correct minor errors in their weaving projects. There are several situations when there is a need to know how to remove embroidery, whether it’s because you stitched two sides of the fabric together, failed to rotate the design, or even got a huge bird’s nest on the fabric. Even though it’s difficult, most of the time, it’s not impossible. Learn how to remove embroidery from jackets, shirts, hats, and other blank items in this article.
Naturally, there are a few tools that can significantly simplify this difficult task for you! Here, you will learn the most common approaches, as there are many options. To get started, it is recommended that you gather the items listed below.
Most likely, you are already familiar with this small, pointed sewing tool. There is a shaft, handle, and head to it. Insert the head of the seam ripper (the sharp point) into a seam below the thread. Then you might need to cut this thread. Since ancient times, almost every sewing box has contained these handy tools, which come in various styles and sizes.
Check out these 2pcs seams rippers; it’s one of the best products based on reviews. A seam ripper will not only get rid of any stray stitches from your project, but the rubber tips will also whisk away and remove any remaining threads. You will benefit greatly from this! Also, be aware that embroidery done by hand with a needle and thread requires a different tool.
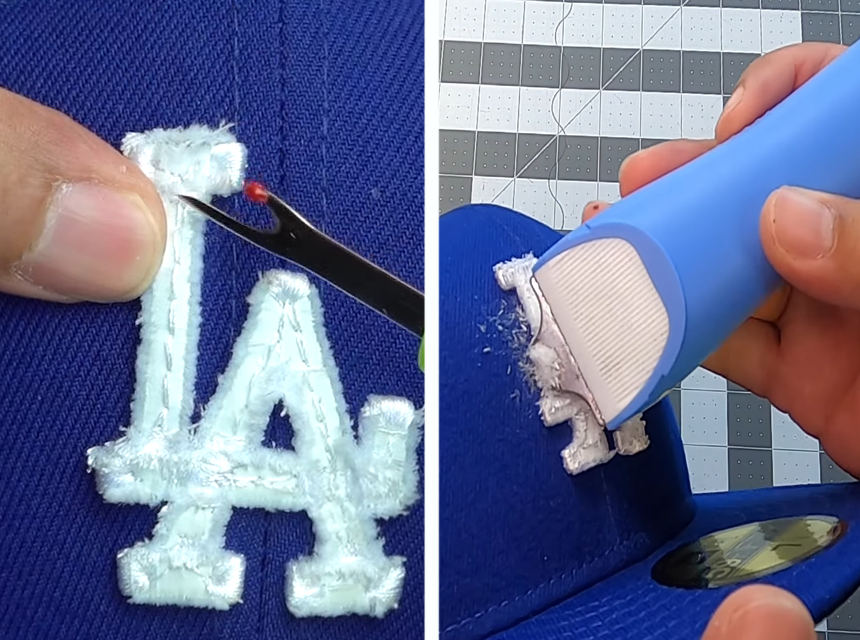
In contrast to a seam ripper, an embroidered eraser is a power-dependent electronic tool. It might remind you of a beard trimmer due to its form and appearance. The embroidery eraser will “clip” the threads loose if used underneath the stitches, but more gradually than a seam ripper. You’ve probably come across the well-known brand Peggy’s Stitch Eraser 3.
Although it is really simple to use, there is one small caveat: this tool works best for larger pieces of embroidery and properly done embroidery. Because of this, it is advised against using it for hand stitching.
A simple tweezer is an ideal instrument to help you pick and remove small stitches which are too fragile to grasp with your hands. It’s probably something that can be found in the bathroom or around the house. Using a small, sharp pair of embroidery scissors is another removing embroidery stitches. Here, it’s important to use tiny scissors with pointed, fine tips. Using a typical pair of scissors increases the possibility of accidentally cutting anything. Insert the point of the scissors under the stitches to cut. Make sure you are gripping the thread you wish to cut before snip. You can then use the tip of your needle or your fingers to remove the cut thread by working backward and forwards. Avoid cutting the cloth with the stitches when doing this, or it results in a bigger issue.
A Lint brush or a lint roller is a tiny, inexpensive instrument that is incredibly useful for removing embroidery. This is because it clears the fabric of any minute particles of lint, hair, dust, or fuzzy threads, giving you a clear perspective of the project, you’re working on. It also works with a piece of adhesive tape or duct tape. Is there no brush or lint roller nearby?
Removing embroidery can be very delicate, especially with the thinnest and smallest threads and stitches. But it helps when you have the right instrument Trusted Source www.ncbi.nlm.nih.gov On the Influence of the Sewing-Machine on Female Health www.ncbi.nlm.nih.gov . When you need to focus, even more, a little magnifying glass can be quite useful. It is undoubtedly a terrific complement while taking out needlework, although not required.
Do you ever come across an item of vintage clothing that you want you could wear but can’t because it bears an old logo sewn into the fabric or insignia of something you wish wasn’t there? Well, you’ve got yourself a solution! Even though removing an embroidered logo may seem difficult, you can restore the wearability of your old clothes by following these four easy guides Trusted Source www.researchgate.net This study examines an inquiry method used in teaching sewing techniques to textile teacher students. www.researchgate.net and using a few simple pieces of equipment.
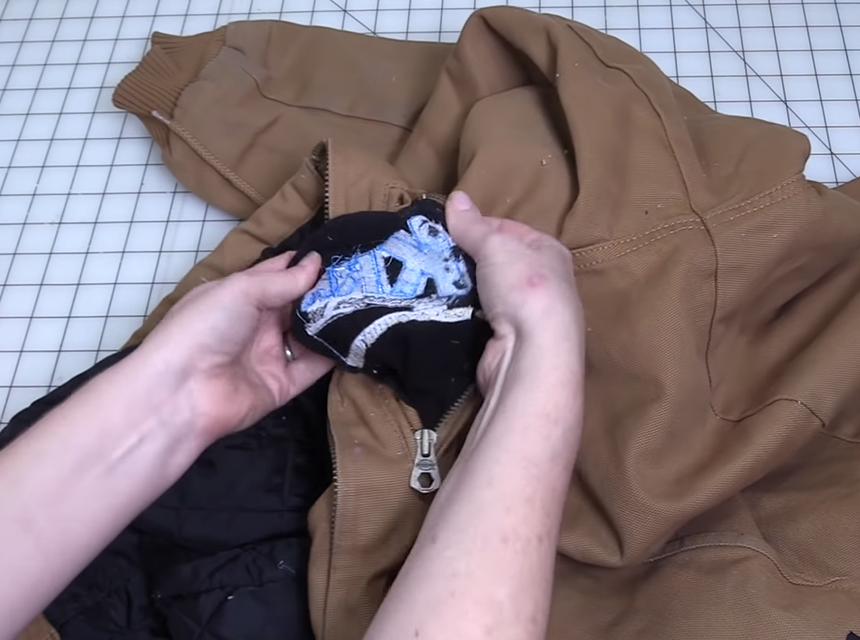
No matter the kind of embroidery or fabric, the first step to knowing how to remove embroidery from clothing is to turn the garment inside out. An embroidery emblem’s sewing details can be seen from the rear. This provides you with a better notion of where to start and makes it simpler to remove the stitching as you go along. However, it is always better to know how to choose the best embroidery fabric so that removing it, later on, can be stress-free.
The easiest and least expensive way to remove an embroidery logo is to use a seam ripper. This instrument makes it simple to cut and remove the stitching’s seams. Turn the shirt inside out and use the pointy edge of the tool to wiggle underneath the embroidery. If you gently lift in the direction of the stitching, the threads will rip. A seam ripper’s useful characteristic is that its rubber tip can help remove some wayward threads. To prevent cutting the fabric during this process, take care not to cut too many threads at once.
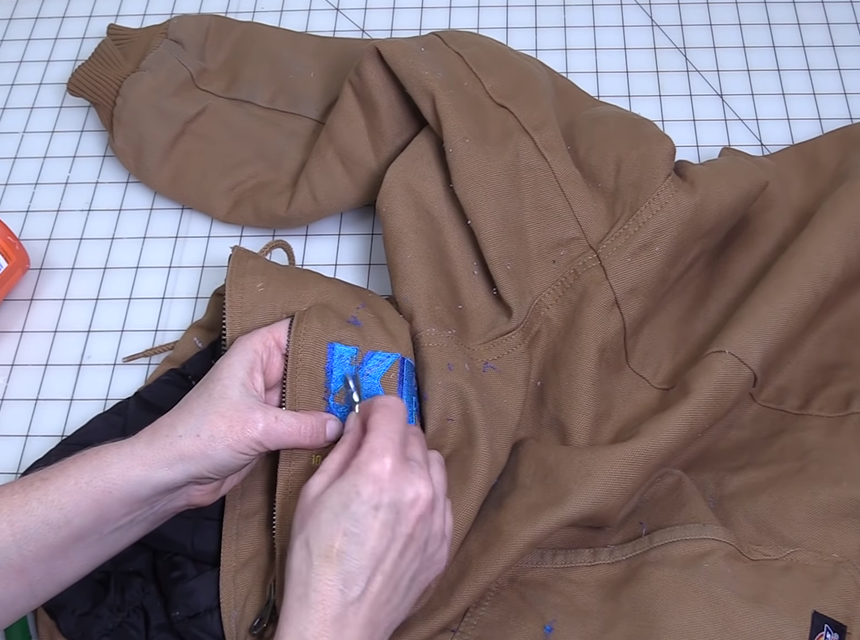
A stitch eraser is an a lot quicker and more efficient way to remove embroidery from fabric than a seam ripper is. Stitch erasers are said to as being “used to remove machine embroidery stitches without causing any damage to the cloth.” Slipping between the stitches actually cuts the thread. Stitch erasers are ideally suited for higher-quality, machine-produced embroidery logos rather than hand-crafted designs stitched with just a needle and thread. This is an important point to remember. When you are ready to start, pull your cloth tightly and start working from the outside in. The eraser will autonomously remove the threads from the logo on your clothing. Check behind the eraser every few seconds to ensure the tool cuts where you want it to. As previously mentioned, a manual razor will work just fine if you don’t currently own one or don’t want to get one.
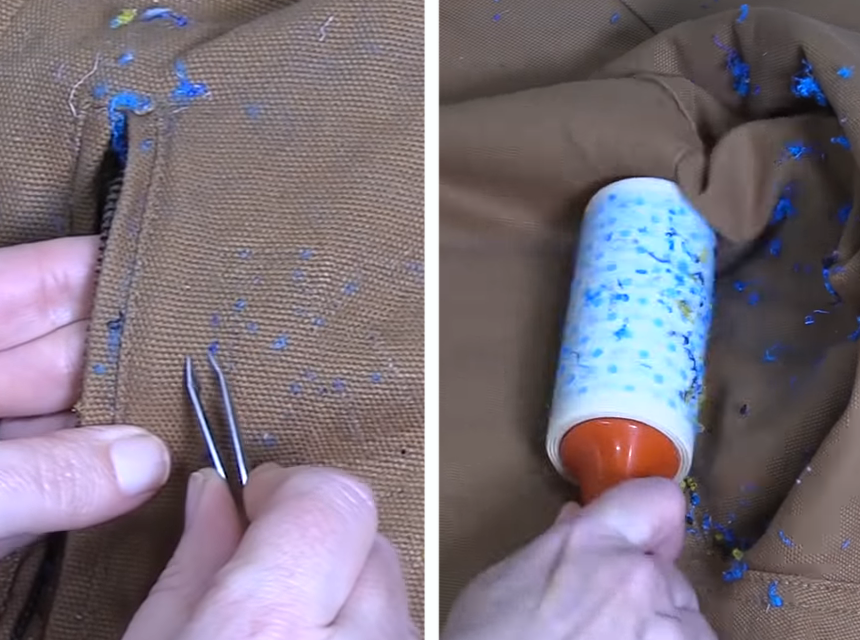
Take out any lingering threads and stitches. Your seam ripper or stitch eraser will unavoidably leave some threads and stitches behind, regardless of your technique. Use tweezers or tiny scissors to remove these additional threads from the front of the garment rather than the rear. When the stitching has finally been removed from the fabric, use a lint roller, tape, or a clothes brush to remove any residue. Check the finished product from the front and back of your garment to ensure it meets standards.
If you’ve never taken out embroidery before, it might be difficult and take a lot of time. This process takes a lot of attention, so you must be very careful to avoid damaging the garment itself and to make that it is removed completely. Whether you plan to remove the embroidery by hand or with the best embroidery machine, the removal procedures are the same, and the backing can be mesh or simple. But first, you should understand the importance of working on a flat surface. This will help to ensure that your clothing is not harmed and that the stitching is not torn. Below are various methods to know how to remove embroidery with backing.
Using a seam ripper, you may easily know how to remove the embroidery from a hat, jacket, or backpack. Push it in between the threads of the embroidered pattern. Pull the embroidery design’s threads out until it is completely gone. It is advisable to implore the best embroidery threads when sewing so that removal becomes easy.
These are the steps to follow if you want to know how to remove embroidery stitching.
Use the stiff bristle brush to brush the areas where the seam once existed. Work fast since the key is to brush all the spots while they are still heated. Before you finish brushing, if required, turn the garment Trusted Source The sewing of textiles - ScienceDirect This chapter describes the techniques and intricacies used in the production of sewn products. it also explains the stitches and seams used in the production of apparel and focuses particularly on the lockstitch machine to give an intimate and detailed explanation of the settings for the machine to produce high-quality products. www.sciencedirect.com back inside out and iron it one more. All of the creases and holes should be eliminated by the second brushing.
Even unintentionally, if you tug on the thread with more power than is necessary, you risk creating holes. There might already be holes, and by pulling on the embroidery thread, you can enlarge them.
Since the creation of fabric, embroidery has existed in various forms. Even though embroidery is used worldwide, its roots are in China and the Near East. The earliest needlework dates back to the Cro-Magnon period, about 30,000 B.C. Archeological relics from this period contain fossilized clothing that remains exquisitely hand-stitched and decorated.
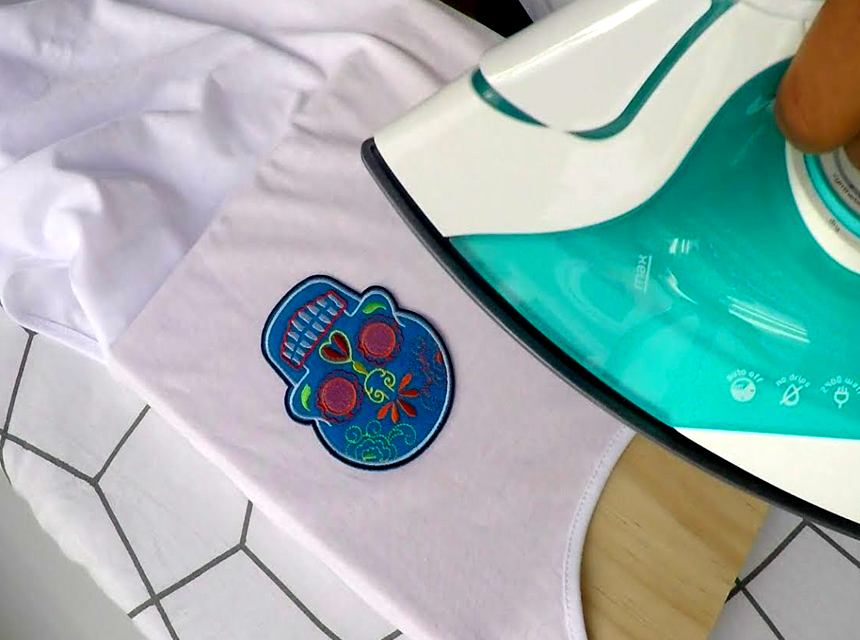
Yes, this process involves applying an iron-on patch using a heat-set glue. You must use heat to weaken the glue to know how to remove the embroidery patch. Use an iron to complete this like you did when you applied the patch. Set your iron’s temperature to medium and go slowly over the spot. After 20 seconds of ironing, attempt to peel up the patch’s edges. Continue ironing as needed until the entire patch comes off. This could take some time.
Unwanted embroidery on a piece of clothing doesn’t necessarily indicate that it should be thrown away. All types of items of clothing can have embroidery removed rather quickly and easily. While Removing embroidery could seem difficult, it isn’t impossible. The Steps and procedures mentioned above will easily put you through how to remove embroidery from any type of clothing. These methods can be used to improve and make any embroidery project easier for you. Please remember that even manicure scissors will work if you don’t have access to any tools. Remember that in that situation, slower, gentler practice is advised. There will inevitably be errors, but they don’t have to spell the end of the world. Now that you know how to remove embroidery the right way, enjoy your sewing!